Using custom data
Load your own data
Click on the map to see the primary simulation options, and select “custom”.
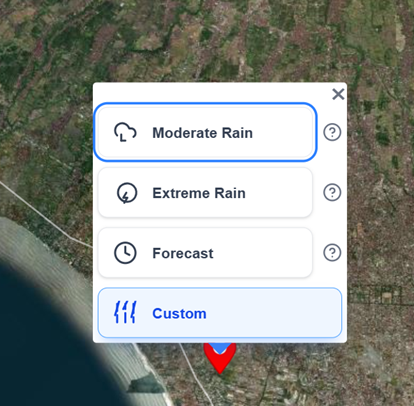
From here, the Simulation Menu opens.
Select the tab “Custom” to indicate you would like to submit your own data files.
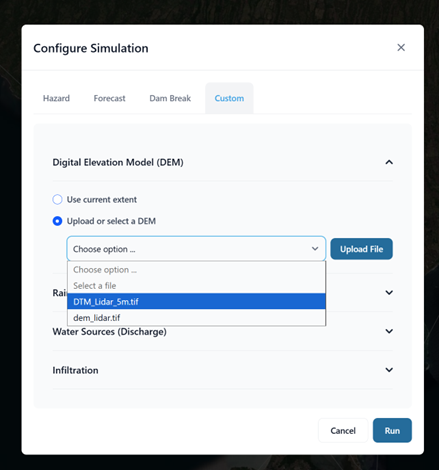
Here, you can upload and specify your own elevation dataset to be used by the model.
Dont forget to still specify the precipitation. Here, start out with a design storm event of 50 year return period.
You can also add discharge boundary conditions for incoming rivers.
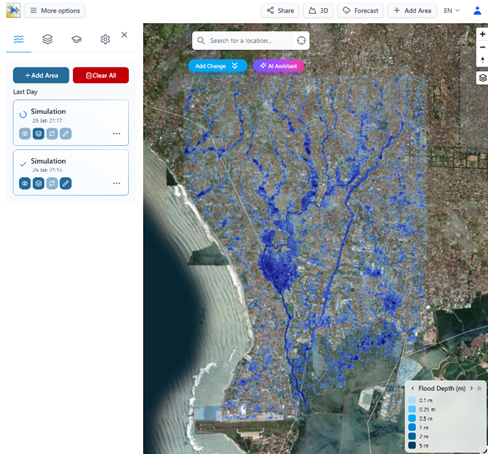
Run the simulation, and when finished, the results show up on the map.
Adjusting the channels and DTM
You can specify a change in the DTM data directly in the web platform. You can specify regions where you would like to adjust the elevation data directly.
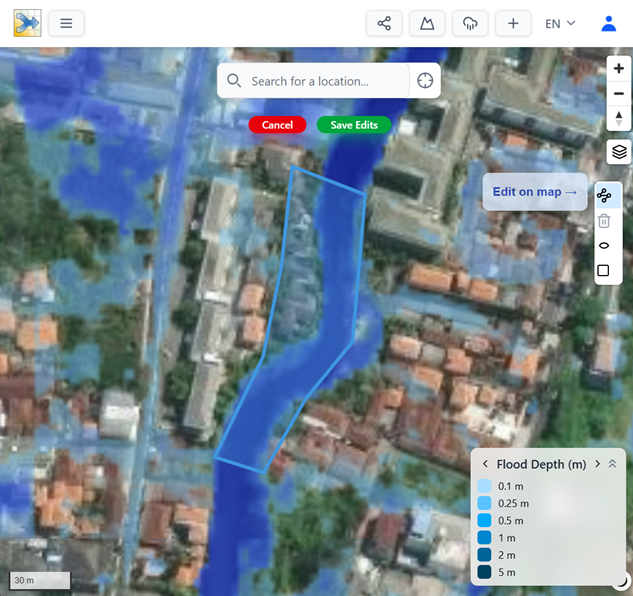
Click “add change”, and then start drawing a region.
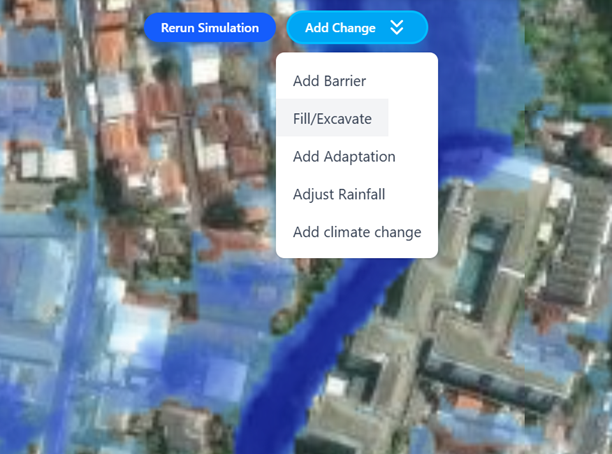
By clicking on the map you can generate a shape,
when finishing the shape (double click) you can specify the elevation change in meters for that region.
Here, we can show a small buffer along the channel
Comparing Simulations
Directly comparing the simulations and the edited scenarios is possible in the tool
Press the “Compare Simulations” button at the top
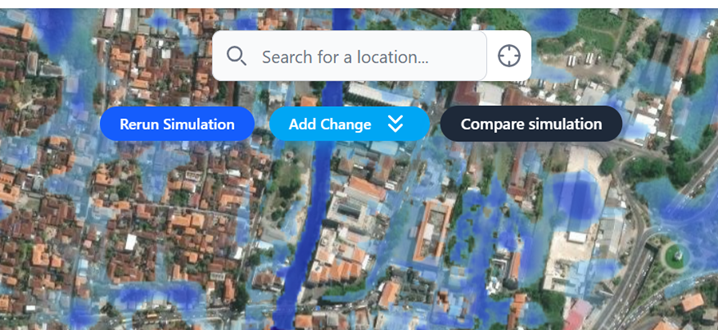
You can view the differences between any two scenarios, and see them side-by-side,
or see the original and the changes with respect to that by toggling the “Difference” button.
